


How to Build a Secure Next.js BFF with Session Cookies

Join thousands of professionals and get the latest insight on Compliance & Cybersecurity.
You've set up a Next.js application with multiple API endpoints, but now you're facing a tangled web of security concerns, authentication challenges, and complex API interactions. As one developer put it on Reddit, "At work I always had to manage lots of API on the frontend, a BFF could have helped manage that mess."
If you're tired of client-side code making multiple service calls, storing sensitive tokens in localStorage, and trying to navigate the "million ways to skin a cat" when it comes to security, there's a solution: the Backend for Frontend (BFF) pattern.
Why a BFF in Next.js? The Strategic Advantages
The BFF pattern provides a dedicated server-side layer that acts as the single touchpoint for your frontend application. Next.js is uniquely positioned to implement this pattern through its powerful Route Handlers and Middleware features, allowing you to create server-side API logic right within your frontend project.
Simplify Complexity and "Manage the Mess"
When building modern web applications, you often need data from multiple services to render a single view. As one developer noted, "If single UI views are requiring 2 to 3 calls, maybe to the same API maybe to multiple API's, then you can alleviate this with a BFF."
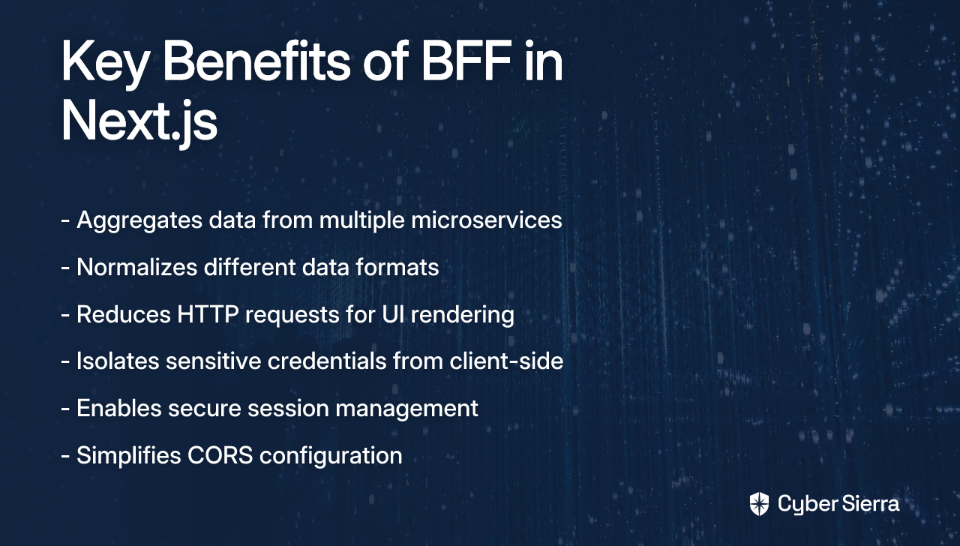
A BFF acts as an aggregator that:
- Combines data from multiple microservices into a single response
- Normalizes different data formats for consistent frontend consumption
- Reduces the number of HTTP requests needed to render UI components
Drastically Enhance Security
Security is perhaps the most compelling reason to adopt the BFF pattern:
- Isolate Sensitive Information: Keep API keys, database credentials, and OAuth client secrets on the server, away from client-side code where they could be exposed.
- Secure Session Management: Use
httpOnlycookies to store session tokens, preventing client-side JavaScript from accessing them and mitigating XSS (Cross-Site Scripting) attacks. - Simplify CORS: Since the frontend only communicates with its own backend (the BFF), complex Cross-Origin Resource Sharing configurations with external services are handled server-side.
Improve Performance and User Experience
The BFF pattern also comes with performance benefits:
- Reduce Over-fetching: Tailor responses specifically for your frontend's needs, sending only the required data and reducing payload size.
- Centralize Error Handling: Catch errors from downstream services and return user-friendly, consistent error messages.

Getting Started: Setting Up Your Next.js BFF Project
Let's start by creating a new Next.js project with the App Router, which provides the foundation for our BFF implementation.
npx create-next-app@latest my-nextjs-bff
During setup, answer the prompts according to your preferences, making sure to use the recommended App Router.
Once your project is created, you'll notice the following structure (simplified):
my-nextjs-bff/
├── app/
│   ├── api/        # This is where our BFF endpoints will live
│   └── page.tsx    # Frontend page
├── public/
└── package.json
The /app/api directory is where you'll create your BFF endpoints. Each endpoint is defined by adding a route.ts (or route.js) file inside a folder within this directory.
Building API Routes: The Heart of Your BFF
Now that our project is set up, let's create some API endpoints that will form the core of our BFF.
Creating a Simple GET Endpoint
Let's start with a basic endpoint that returns a JSON response:
// In app/api/hello/route.ts
import { NextResponse } from 'next/server';

export async function GET(request: Request) {
    return NextResponse.json({ message: 'Hello from the BFF!' });
}
This creates an endpoint at /api/hello that responds to GET requests with a simple JSON message.
Handling POST Requests and Payloads
For POST requests that receive data from the client, you can extract the JSON payload using request.json():
// In app/api/data/route.ts
export async function POST(request: Request) {
    const body = await request.json();
    console.log('Received data:', body);
    return Response.json({ status: 'success', data: body });
}
Proxying Requests to External Services
One of the key benefits of a BFF is the ability to proxy requests to external services while keeping sensitive information like API keys secure. Here's how you can do it:
// In app/api/proxy/route.ts
export async function GET(request: Request) {
    const API_KEY = process.env.EXTERNAL_API_KEY;
    if (!API_KEY) {
        return Response.json({ error: 'API key not configured' }, { status: 500 });
    }

    const res = await fetch(`https://api.externalservice.com/data?apiKey=${API_KEY}`);
    const data = await res.json();

    // Transform data if needed before sending to the client
    const transformedData = {
        // Extract only what the frontend needs
        items: data.results.map(item => ({
            id: item.id,
            title: item.title,
            description: item.summary
        }))
    };

    return Response.json(transformedData);
}
Note on axios vs. fetch: While built-in
fetchis sufficient for many cases, some developers prefer usingaxiosfor its additional features. As one developer mentioned, "Axios has stable releases and offers features such as instances and better TypeScript integration." Choose based on your specific needs.
Implementing Secure Session Management with Cookies
Now, let's address the core security aspect of our BFF: implementing secure session management using httpOnly cookies.
Why httpOnly Session Cookies are the Gold Standard
When it comes to storing authentication tokens, many developers default to using localStorage. However, this approach has a serious vulnerability: any JavaScript running on your page (including malicious scripts injected through XSS) can access tokens stored in localStorage.
httpOnly cookies, on the other hand, are inaccessible to client-side JavaScript, making them the most secure way to store session tokens in a browser. As one developer noted on Reddit, using cookies with JWT "is common practice with a lot of the libraries out now."
Step-by-Step Guide to Implementing Session Cookies
Let's implement a complete authentication flow using secure cookies:
- Create a Login Endpoint
First, let's create an endpoint to handle user authentication:
// In app/api/auth/login/route.ts
import { NextResponse } from 'next/server';

export async function POST(request: Request) {
    // Get credentials from request body
    const { username, password } = await request.json();

    // In a real app, you would validate credentials against your database
    // This is just a simplified example
    if (username === 'demo' && password === 'password') {
        // Generate a session token (in production use a proper JWT library)
        const sessionToken = 'jwt-token-would-go-here';

        // Create the response
        const response = NextResponse.json({
            success: true,
            message: 'Logged in successfully'
        });

        // Set the secure HTTP-only cookie
        response.cookies.set({
            name: 'session-token',
            value: sessionToken,
            httpOnly: true,        // Crucial for security - prevents JavaScript access
            secure: process.env.NODE_ENV === 'production', // Only sent over HTTPS in production
            maxAge: 60 * 60 * 24,  // 1 day in seconds
            path: '/',             // Available on all paths
            sameSite: 'lax',       // Protects against CSRF
        });

        return response;
    }

    // Return error for invalid credentials
    return NextResponse.json(
        { success: false, message: 'Invalid credentials' },
        { status: 401 }
    );
}
- Protect Routes with Middleware
Next, create a middleware.ts file at the root of your project to protect routes that require authentication:
// In middleware.ts at the root of your project
import { NextRequest, NextResponse } from 'next/server';

export function middleware(request: NextRequest) {
    const sessionToken = request.cookies.get('session-token')?.value;

    if (!sessionToken) {
        // For API routes, return 401 Unauthorized
        if (request.nextUrl.pathname.startsWith('/api/protected')) {
            return new NextResponse('Authentication required', { status: 401 });
        }
        // For pages, redirect to login
        return NextResponse.redirect(new URL('/login', request.url));
    }

    // Optional: Add token validation logic here
    // In a real app, you would verify the JWT signature and expiration

    return NextResponse.next();
}

// Define which routes the middleware applies to
export const config = {
    matcher: ['/dashboard/:path*', '/api/protected/:path*'],
};
- Create a Protected API Endpoint
Now let's create a protected endpoint that only authenticated users can access:
// In app/api/protected/user-data/route.ts
import { NextResponse } from 'next/server';

export async function GET(request: Request) {
    // The middleware ensures this endpoint is only accessible with a valid session
    // No need to check for authentication here

    return NextResponse.json({
        user: {
            name: 'John Doe',
            email: '[email protected]',
            role: 'admin'
        }
    });
}
Advanced Security Best Practices for a Bulletproof BFF
Beyond session cookies, there are several other security measures you should implement:
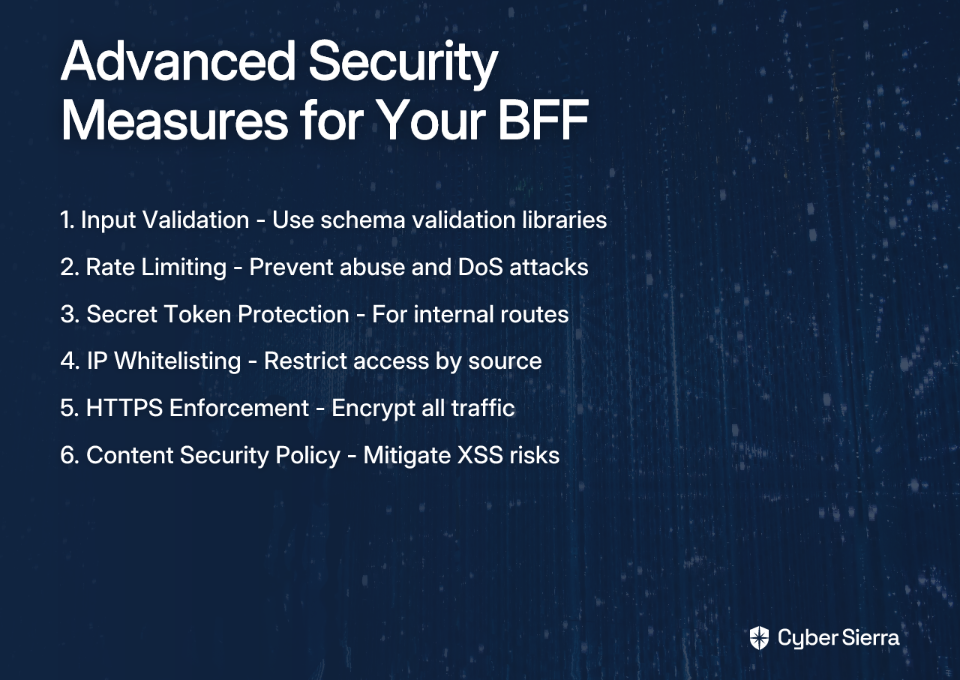
Input Validation
Always validate data coming from the client before processing it. Consider using a library like zod for schema validation:
import { z } from 'zod';

// Define the schema for valid input
const userSchema = z.object({
    name: z.string().min(2),
    email: z.string().email(),
    age: z.number().min(18).optional()
});

export async function POST(request: Request) {
    const body = await request.json();

    // Validate against the schema
    const result = userSchema.safeParse(body);

    if (!result.success) {
        return NextResponse.json({ error: result.error }, { status: 400 });
    }

    // Process the validated data
    const validatedData = result.data;
    // ...
}
Securing Internal API Routes
For routes intended only for internal use (like cron jobs), implement additional security measures. As one developer mentioned, "if someone were to get access to the route, it might cause problems."
One approach is to use a secret token:
// In app/api/internal/update-data/route.ts
export async function POST(request: Request) {
    const authHeader = request.headers.get('authorization');
    const secretToken = process.env.INTERNAL_API_SECRET;

    if (authHeader !== `Bearer ${secretToken}`) {
        return new Response('Unauthorized', { status: 401 });
    }

    // Proceed with the internal operation
    // ...
}
If using Vercel, you can also utilize their firewall for IP whitelisting to further restrict access to internal routes.

Conclusion: Your Path to a More Secure and Scalable Frontend
The BFF pattern implemented in Next.js provides a powerful approach to building modern web applications. By centralizing API interactions, enhancing security through httpOnly cookies, and simplifying the frontend, you create a more maintainable and secure architecture.
Key takeaways:
- Use Next.js Route Handlers to create a tailored API layer for your frontend
- Implement secure session management with
httpOnlycookies instead of localStorage - Protect sensitive routes with middleware
- Apply additional security measures like input validation and rate limiting
By following these practices, you'll avoid the "mess" of managing multiple APIs directly from the frontend while significantly enhancing your application's security posture.
Frequently Asked Questions
What is a Backend for Frontend (BFF) in Next.js?
A Backend for Frontend (BFF) in Next.js is a dedicated server-side layer, built using features like Route Handlers, that acts as an intermediary between your frontend client and downstream microservices. Instead of the frontend making numerous calls to different APIs, it communicates exclusively with the BFF, which then handles the complex interactions, data aggregation, and authentication with other services.
Why should I use a BFF instead of calling APIs directly from my frontend?
You should use a BFF to simplify complexity and enhance security. A BFF centralizes logic by aggregating data from multiple sources into a single, tailored response for the UI. More importantly, it secures your application by keeping sensitive information like API keys and session tokens on the server, preventing their exposure in client-side code.
How does a BFF improve security in a Next.js application?
A BFF drastically improves security by acting as a protective layer. It allows you to store sensitive API keys and credentials on the server, not the client. It also enables the use of httpOnly cookies for session management, which prevents client-side JavaScript from accessing session tokens, thereby mitigating risks like Cross-Site Scripting (XSS) attacks.
Is using localStorage for JWTs a bad practice?
Yes, storing JWTs or other sensitive tokens in localStorage is generally considered a bad practice due to security vulnerabilities. Any JavaScript running on your page, including malicious scripts from a Cross-Site Scripting (XSS) attack, can access and steal tokens from localStorage. Using secure, httpOnly cookies managed by a BFF is the recommended, more secure alternative.
Can I use a BFF to combine data from multiple APIs?
Absolutely. One of the primary functions of a BFF is to act as an aggregator. It can receive a single request from the frontend, make multiple calls to different downstream microservices or external APIs, and then combine and transform their responses into a single, cohesive payload perfectly shaped for the client's needs. This reduces the number of network requests the client has to make.
How do I protect API routes in a Next.js BFF?
You can protect API routes in a Next.js BFF using Middleware. By creating a middleware.ts file, you can intercept incoming requests to specific routes, check for a valid session cookie or token, and either allow the request to proceed or redirect/return an unauthorized response if authentication fails. This provides a centralized way to secure your protected endpoints.